Create a Page
This tutorial illustrates using DynamicPDF Designer to create a simple document consisting of a single page. Usually, you would create a report and add a cover page to the report. But to keep it simple, we start with a single page in this tutorial.
A page includes images and elements based on non-repeating data generated from top-level JSON elements.
You will most likely use pages to create a cover page for your DLEX reports created using DynamicPDF Designer. You can also use a page independently to create a static document.
Required Resources
Before beginning this tutorial, you must add the creating-page-designer samples folder to your cloud storage in the File Manager.
- Login to the Portal and open the File Manager.
- Select the
samplesfolder and then click the Add Samples button. - Check the
creating-page-designerproject to add the folder containing the resources needed for the tutorials on Designer.
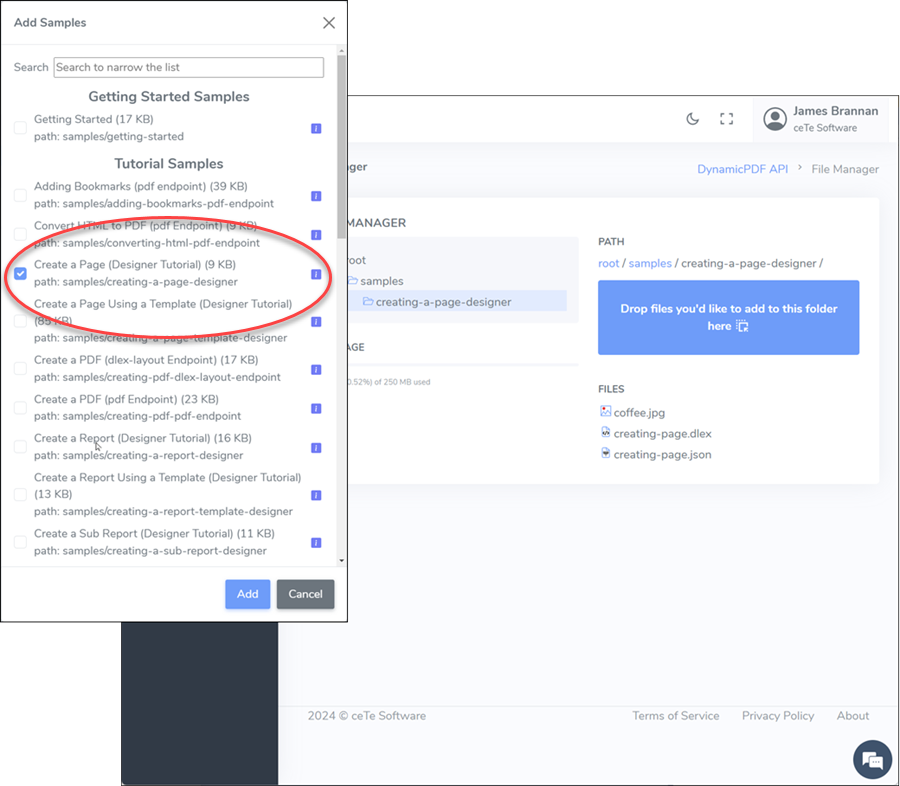
Figure 1. The File Manager with the sample folder for this project.
- If you plan to duplicate the steps in this tutorial, delete the
creating-a-page.dlexandcreating-page.jsonfiles. Do not delete these files if you wish to follow along without completing the steps.
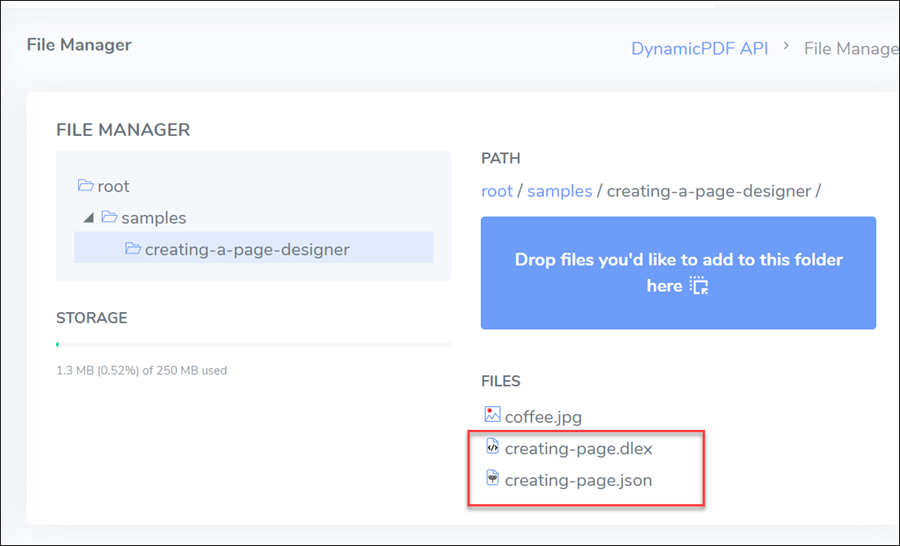
Figure 1. Delete these two files from the File Manager if you are duplicating the tutorial's steps.
Start DynamicPDF Designer
Let's create a cover-page containing an image, a line, and some top-level JSON data elements.
- Open Designer from the Portal.
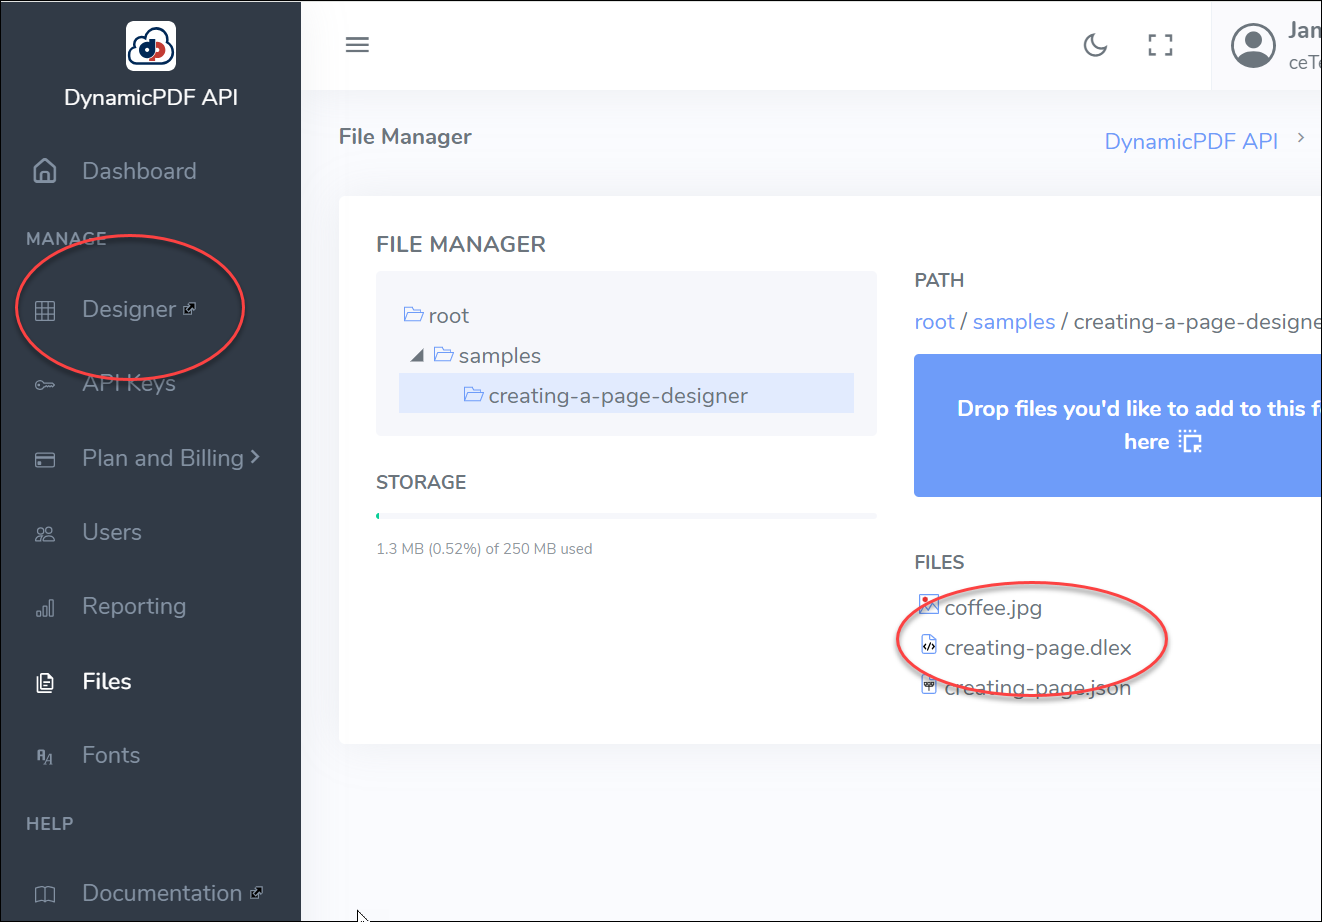
Figure 2. Open Designer from the Portal or by double-clicking the dlex file.
Create DLEX File
In this tutorial, we assume you have the samples/creating-a-page-designer samples project added to your cloud storage and that you deleted both the DLEX and JSON files, but not coffee.png
- Open Designer, and as Designer opens, it presents you with the File Explorer.
- Create a new DLEX file named
creating-page.dlexby entering the file's name and clicking Create.

Figure 4. Creating a DLEX file in File Explorer.
Note that the coffee.jpg image is not displayed in figure 4, as the type is limited to DLEX.
A blank document appears in the Designer's Document Window with two buttons, Add Page and Add Report. We start by creating a page, but before we do, let's add the JSON data used by the document.
Add JSON Data
The sample dataset lists a hypothetical monthly beverage order list. We only use the top-level fields in this tutorial, as pages can only use top-level fields. We will use the repeating data fields in a future tutorial.
- From the top button bar, select the Edit Data Layout button to open an empty Layout Data Editor.
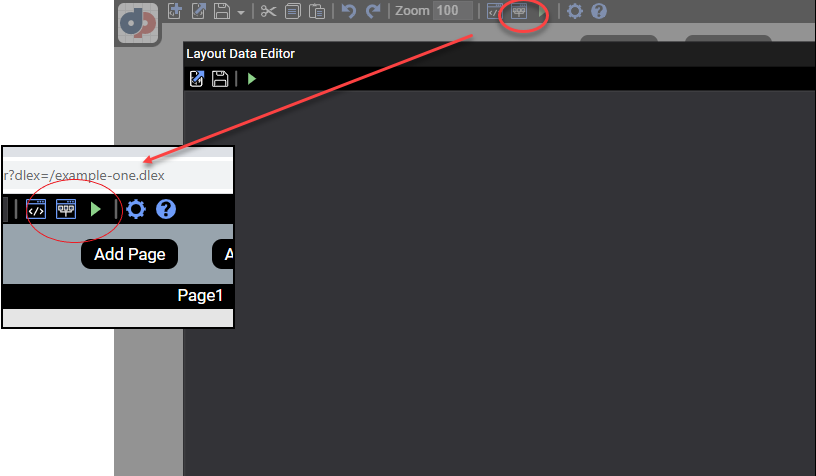
Figure 5. Edit Data Layout button and empty Layout Data Editor.
- Add the following JSON data.
{
    "ReportName": "Monthly Beverage Order List",
    "Date": "09/21/2021",
    "Author": "John Doe",
    "Coffees": [
        {
            "ProductID": 568,
            "Type": "Arabica",
            "Variety": "Arusha",
            "Price": 7.99
        },
        {
            "ProductID": 120,
            "Type": "Arabica",
            "Variety": "Blue Mountain",
            "Price": 12.21
        },
        {
            "ProductID": 235,
            "Type": "Robusta",
            "Variety": "Italian Espresso",
            "Price": 15.22
        }
    ]
}
- Save the JSON data as
creating-page.json.
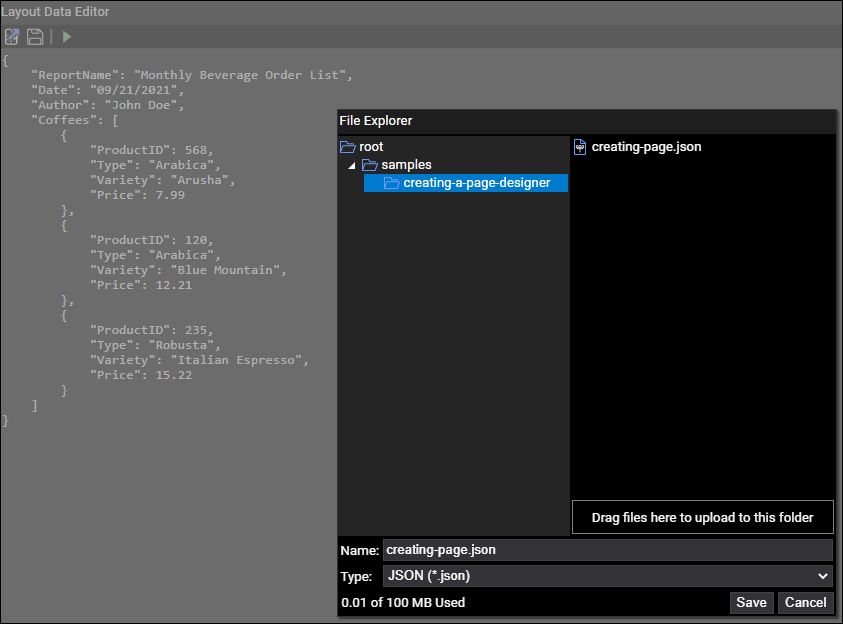
Figure 6. Save the JSON data in the File Explorer.
You can only use top-level fields from a JSON document when creating a page. In future tutorials, you use repeating data to create a report body. Also, Designer only supports named JSON fields; anonymous elements are not supported.
Add Page
The first choice Designer offers after creating the new document is between the Add Page and Add Report buttons. The Add Page button adds a new page to your project, while Add Report adds a new report. Creating a new cover page requires a page, so let's create one.
- Click Add Page to create a new page.
 Figure 7. Adding a page to DynamicPDF Designer.
-
Assign the page the
cover_pageid. -
On the newly created page, right-click anywhere on the page in the Document Window and select Add Image from the context menu.
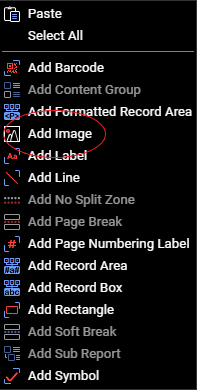
Figure 8. The Add Image option after right-clicking on a page.
- Type the image name in the path field in the Resource Explorer to add the image. Note that this tutorial assumes the image is in the same cloud resource folder as the DLEX file.
- Add
coffe.jpgfrom thesamples\creating-a-page-designerfolder. - Assign
coffee_imageas the image's id. - Resize the image to the correct dimensions (200 x 154) and center it on the page.
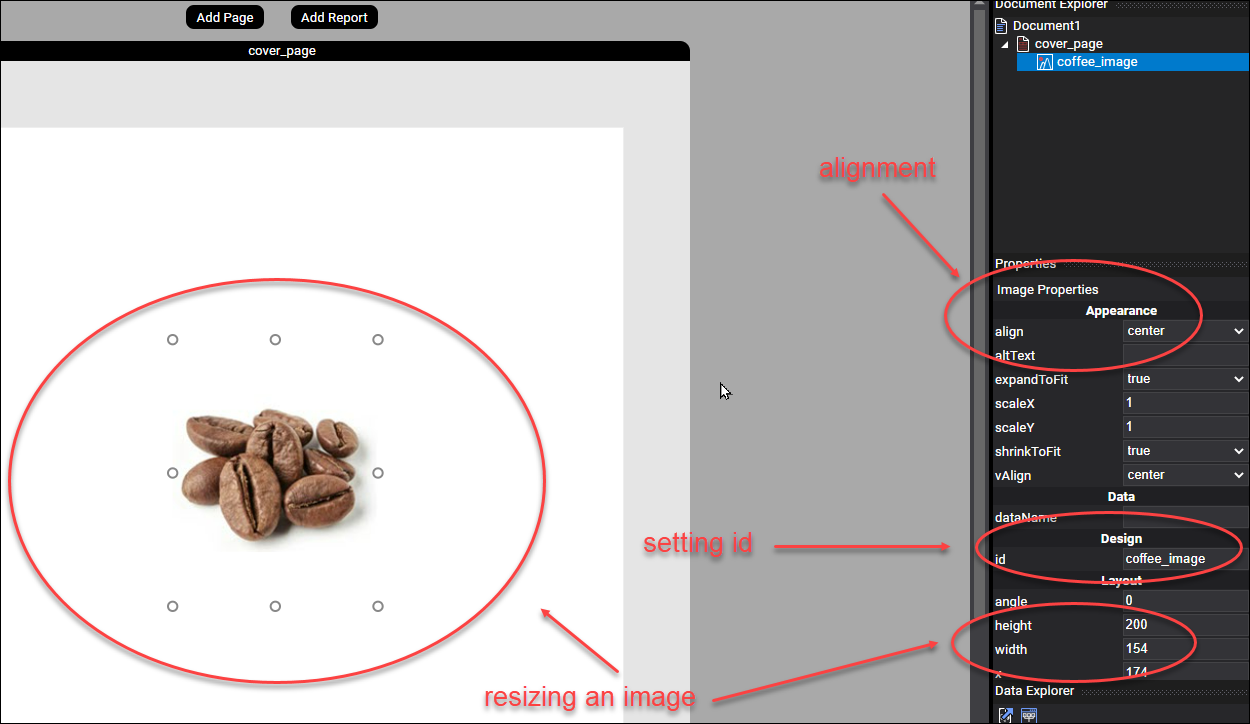
Figure 9. Adding and resizing an image.
Images do not require existing in the same folder as the DLEX template, you can create a relative path to an image.
- From the context menu, add a small divider line to the page by selecting Add Line.
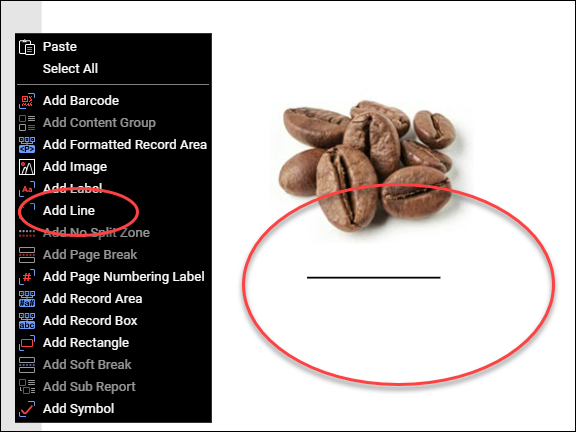
Figure 10. Adding a line to a page.
- Add a RecordBox element to the page and assign its id as
report_name. Change the element's font size to 22 and center the text.

Figure 11. Changing settings of a RecordBox.
- Add a second RecordBox and assign
Dateas the dataName. - Assign
report_dateas the id.
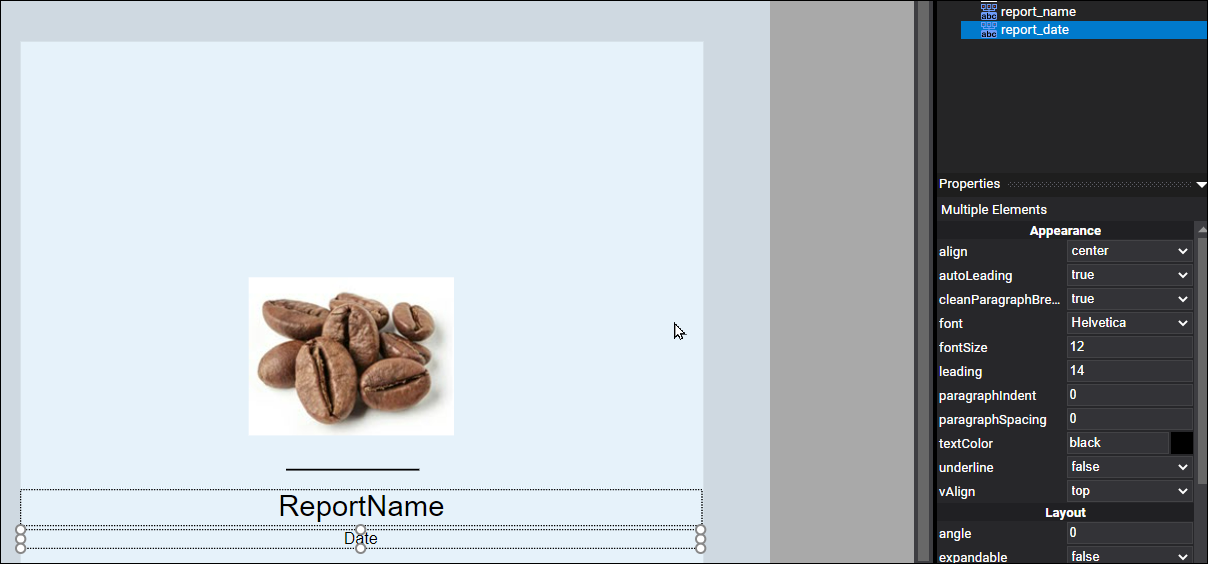
Figure 12. Adding a RecordBox to a page.
- From the context menu, add a RecordArea to the page.
- Add the text
Prepared By #Author#to the text property in the element's Properties Explorer. Note that a RecordArea uses "ColdFusion style" pound syntax to embed a property name in a RecordArea element's text. You can enter any text in the textArea and any JSON field names by surrounding the field name with # characters.
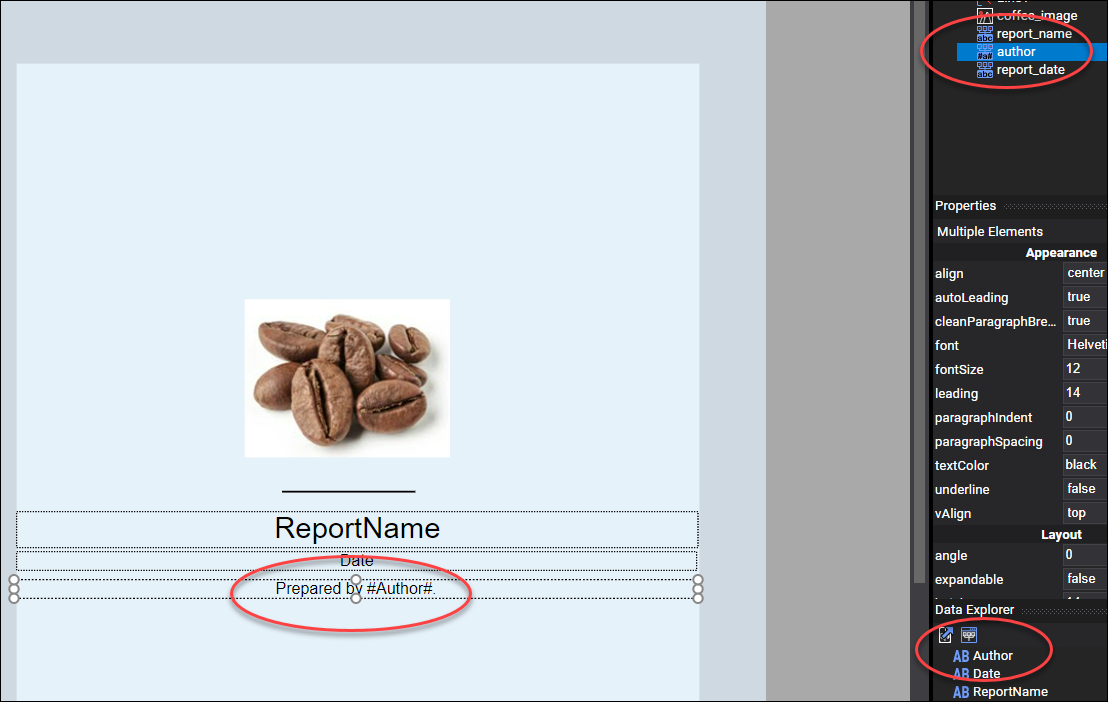
Figure 13. Setting a RecordArea element's text property.
- Center the RecordArea on the page.
- Assign
report_nameas the id.
Manipulating elements by selecting properties in the Properties Window is usually easier than manipulating elements directly in the Document Window.
Generate PDF
- Select Run Report (the green arrow) from the menu bar to generate the PDF.
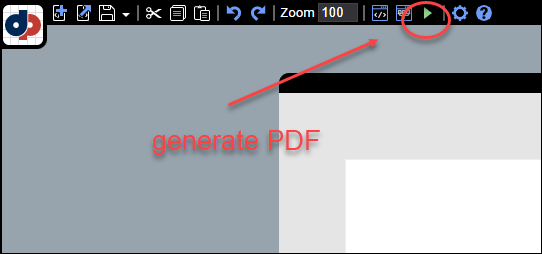
Figure 14. Generating a PDF document.
- The PDF should appear similar to the following.

Figure 15. A cover-page generated as a PDF.
Note the watermark text only appears if using a free account.
Discussion
As this tutorial illustrated, creating a page is straightforward. Although you can use a page to create any PDF document, a page typically functions as a report's cover page. But remember, you are limited in the JSON data you can add to a PDF page. When creating a page, you are limited to non-data-related elements such as lines and images and top-level, non-repeating JSON data elements. For example, in this tutorial, you can only use the fields: ReportName, Date, and Author. The other fields are repeating data and are used in later tutorials.
After creating a page, we added an image, two RecordBox elements, and a RecordArea element. A RecordBox element allows entering a data field's name in the RecordBox element's dataName property. A RecordArea, in contrast, allows entering formatted text with one or more embedded data field names. When adding content to a RecordArea, you add text directly to the RecordArea Properties text property and wrap the field name with a pound sign to indicate it refers to the JSON data's element name.