Manage Users
 Use Manage Users to add, edit, and delete users.
The Users panel is where you manage your application's users. To manage a user, select Manage Users in the Portal menu and add, edit, and delete your organization's users.
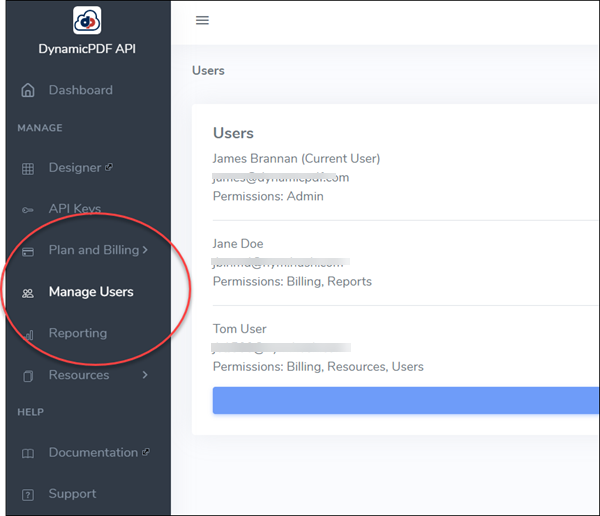
Figure 1. The Manage Users panel is where you add, edit, and delete users.
Only Pro and Premium plans allow adding and managing subusers (see pricing.
Add User
Upon opening the Manage Users panel it displays a list of users registered for an account. Click Add User and complete the user's registration information to add a new user to the account.
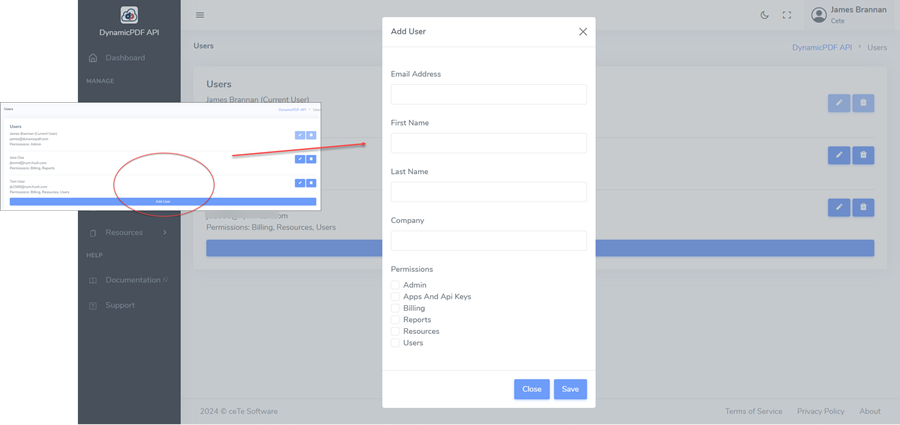
Figure 2. Click Add User to open the Add User dialog and add a new user.
User Permissions
Grant one or more of the following permissions when creating a new user.
| Permission | Description |
|---|---|
| Admin | Grant all permissions. |
| Apps And API Keys | Access to API Keys. Allows adding, editing, and deleting API keys from an account. |
| Billing | Access to Plan and Billing. Allows changing a billing plan and reviewing current and past bills. |
| Reports | Access to Reporting. |
| Resources | Access to File Manager and Fonts. Manage adding/editing/deleting files and global fonts from your API account. |
| Users | Access to Manage Users. Manage adding/editing/deleting users of a DynamicPDF API account. |
When a user is granted permission, the permission is for the account, not the individual user.
- From the Add User dialog, complete the user's information and select the appropriate permissions.
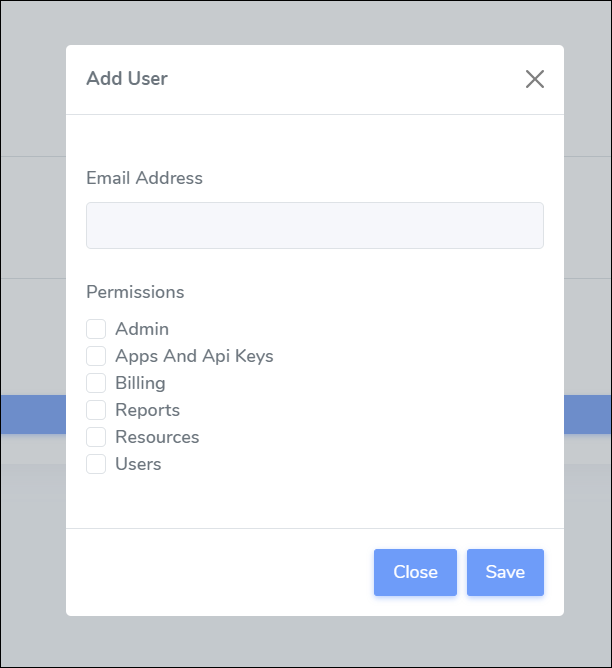
Figure 3. The Add User dialog.
After adding a user, the user is added to the users in the User Manager list.
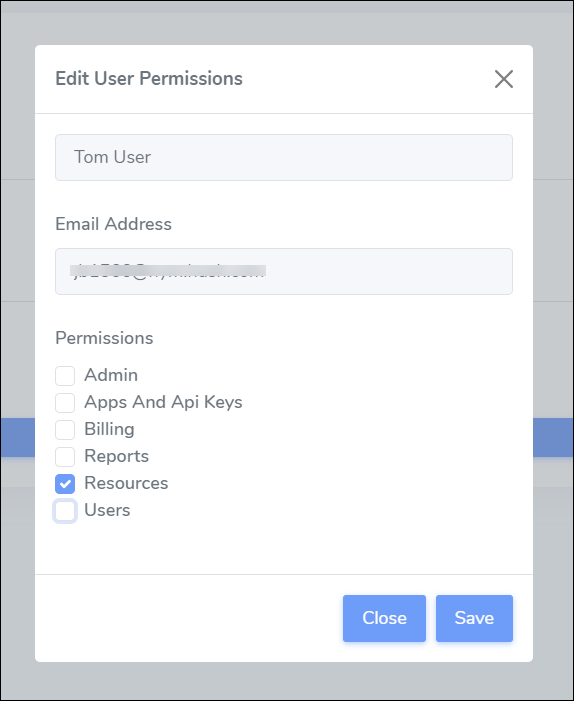
Figure 4. A user granted access to Resources only.
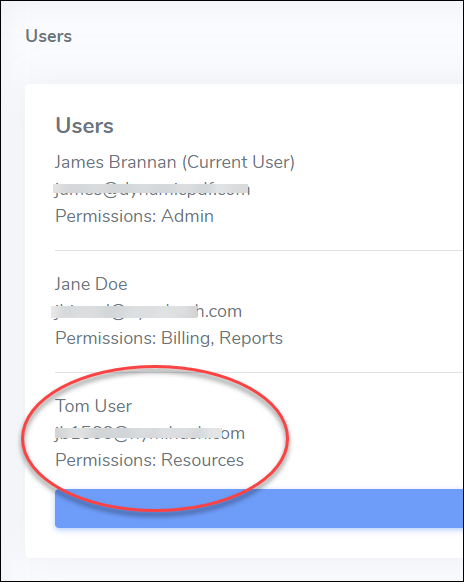
Figure 5. After adding a user the user's information appears in the list of users.
New User Login
After adding a user, that user is sent an email inviting him or her to log in. The user must click the Log in or sign up link to log in to their account.
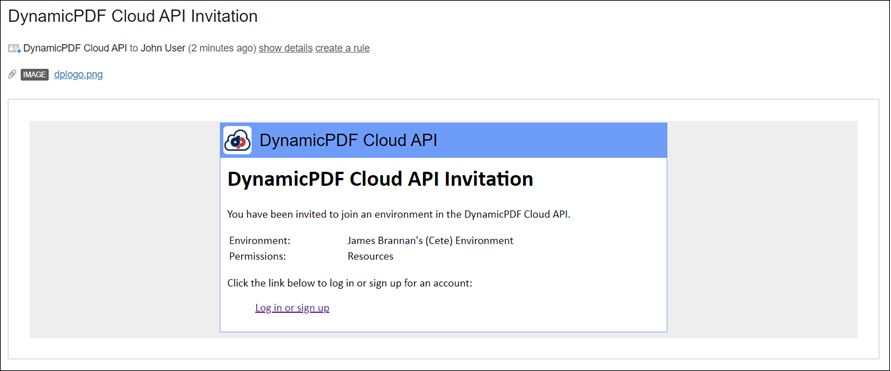
Figure 6. New users receive an email informing them to log in.
New User Registration
After clicking the Log in or sign up link a user is taken to the DynamicPDF API log in screen with the user's information pre-filled. The user must complete the following steps.
- Validate the information is correct.
- Create a new password.
- Click Get Started for Free button and user is presented a confirmation screen.
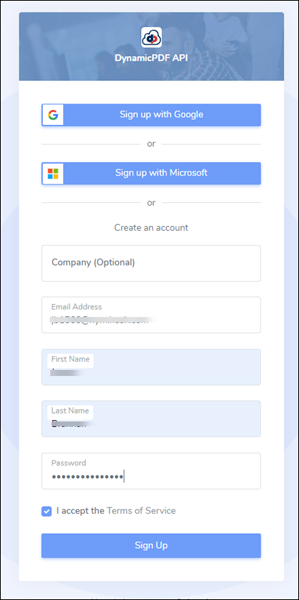
Figure 7. User Registration form for newly created user.
After registering, the user is sent a verification code to his or her email.
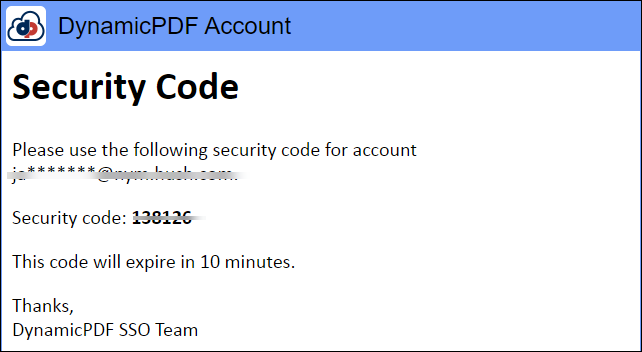
Figure 8. User registration security code verification.
- Enter the verification code in the confirmation screen and the user's registration is complete.
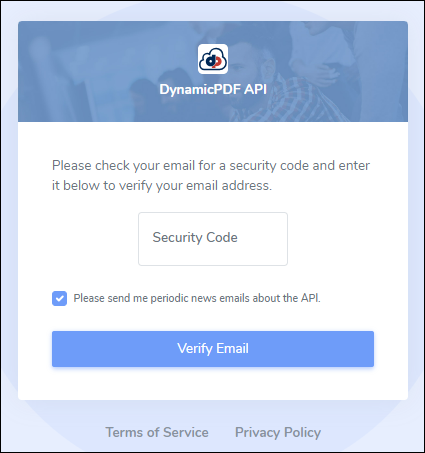
Figure 9. User registration email verification.
The user is then required to log in.
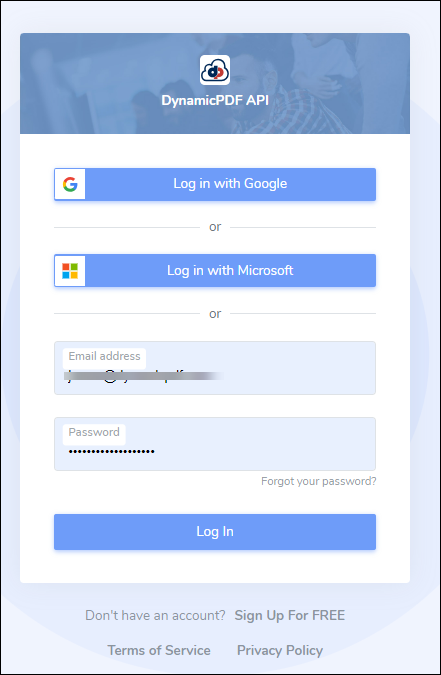
Figure 10. The DynamicPDF API log in screen.
Changing Password
If you need to change your password then perform the following steps.
- From the login screen, click the Forgot password? link.
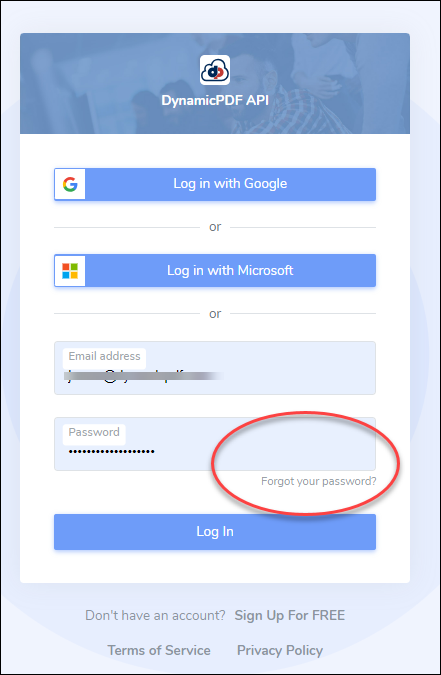
Figure 11. Password reset link.
- Enter your email address then click the Send Password Reset Email button to send an email.
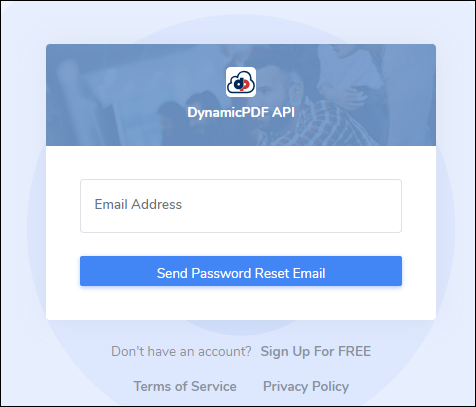
Figure 12. Send an email to reset your password.
- Click the Reset Password Link in the email to be taken to the screen to reset your password.
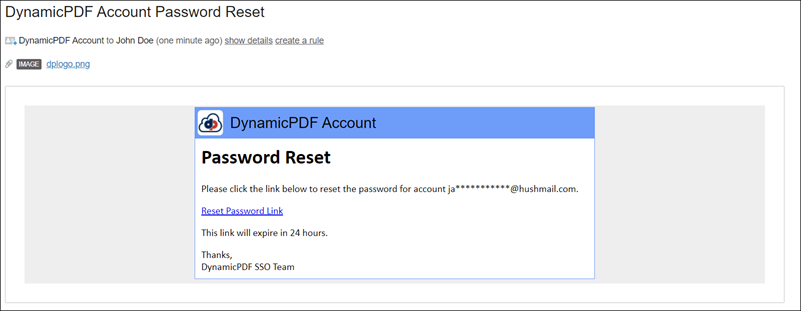
Figure 13. Reset password email.
- Enter a new password and click Reset Password to reset your password.
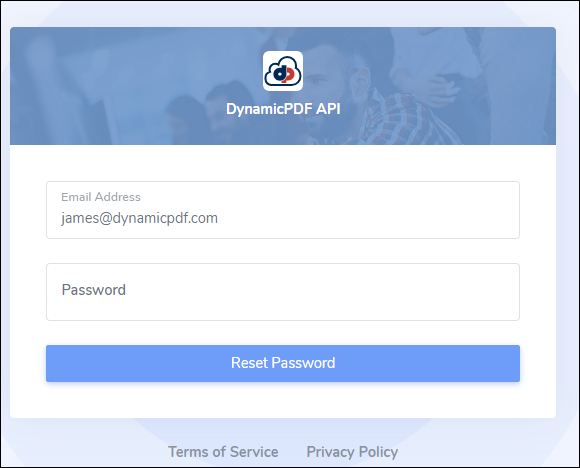
Figure 14. Resetting to new password.
Editing and Deleting a User
You can edit or delete users from an account. To edit a user click the small pencil icon. To delete a user click the small trashcan icon.
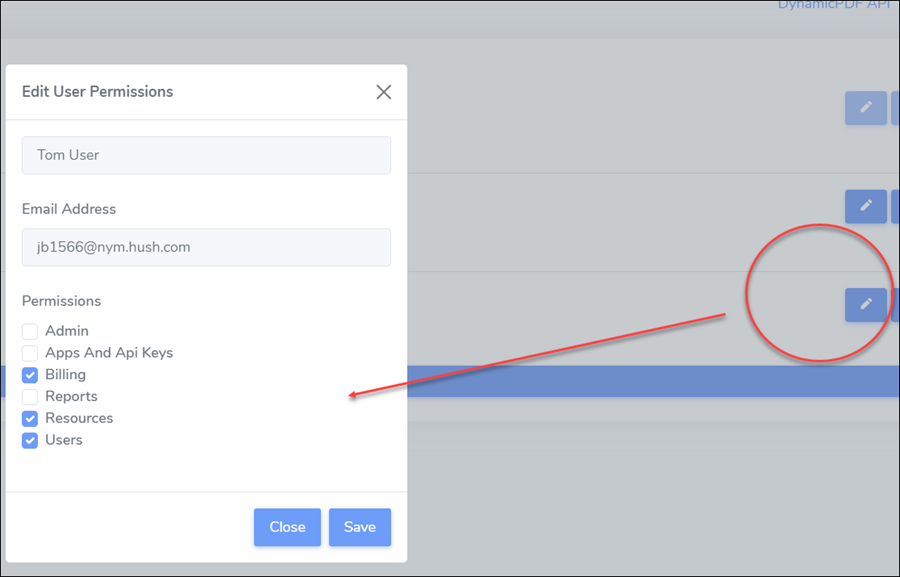
Figure 15. Edit a user by clicking the pencil icon.
Figure 16. Delete a user by clicking the trashcan icon.
"Deleting" a user does not delete the user from the DynamicPDF API. It removes the user from the particular account. A user still belongs to other accounts if applicable.